
For services that are not covered by an insurance plan, you can use Dentrix to create an exceptions table to document and track the exceptions to in-network and out-of-network insurance plans.
Note: Updating or changing any benefit and coverage information will affect all patients who subscribe to the selected group plan.
To create an exceptions table
1. In the Office Manager, click Maintenance, point to Reference, and then click Insurance Maintenance.
The Insurance Maintenance dialog box appears.

2. Select the carrier and group plan that you want to create an exceptions table for, and then click Benefits/Coverage.
The Dental Insurance Benefits and Coverage dialog box appears.
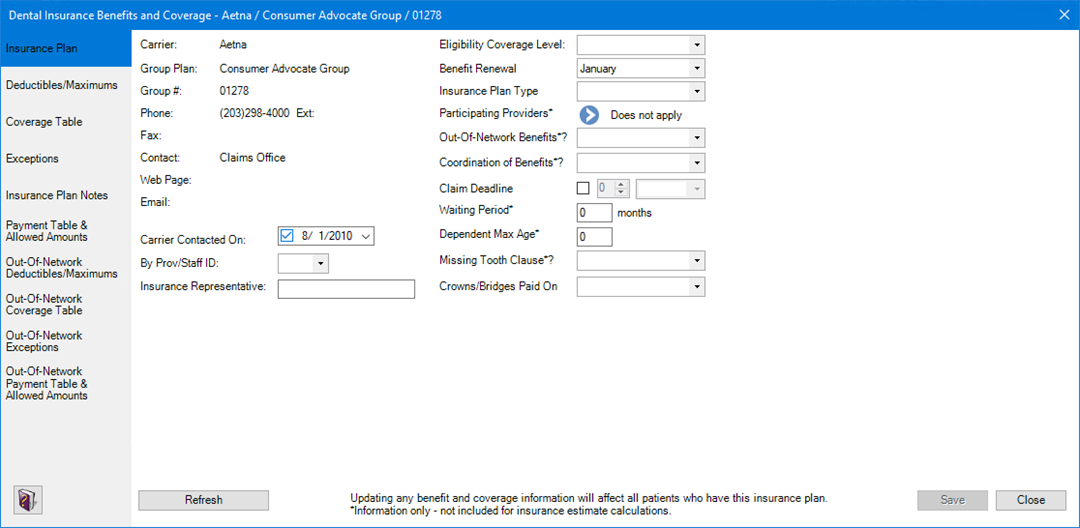
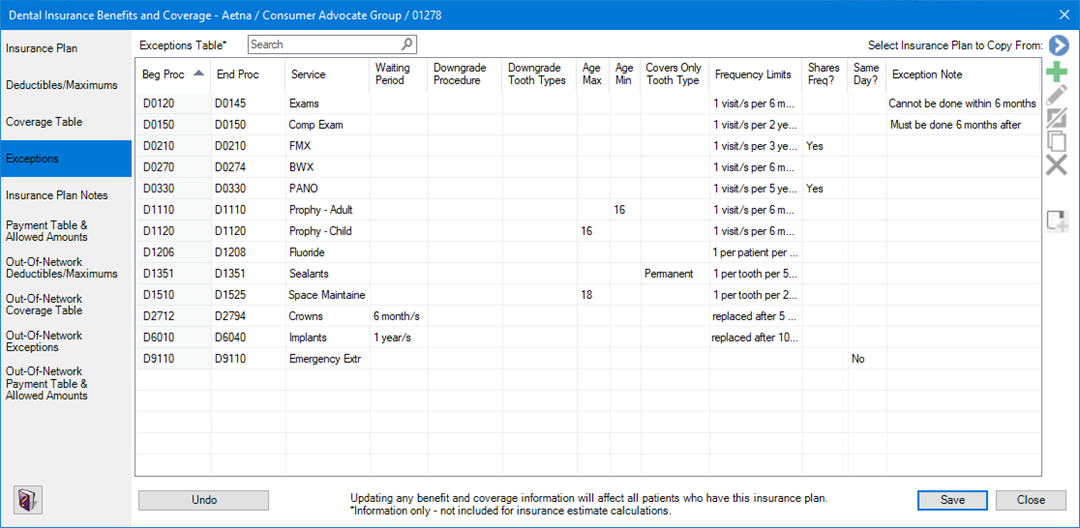
3. Click the Exceptions tab.
The Exceptions Table appears.
![]()
4. To create an exceptions table, do one of the following:
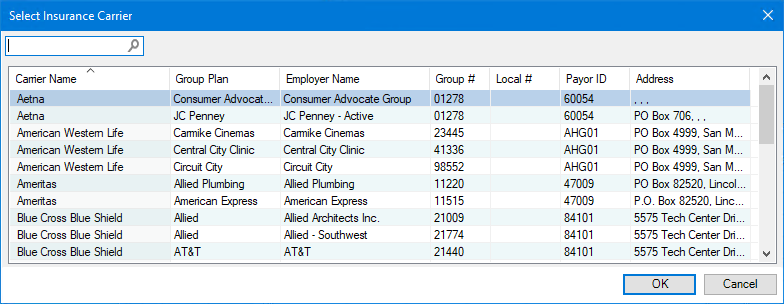
· Copy an exceptions table from another insurance plan by clicking the Select Insurance Plan to Copy From button. Select an insurance company from the list, click OK, and then edit the exceptions as necessary.
The Select Insurance Carrier dialog box appears.
· Click
Add ![]() , and then enter each
table entry manually.
, and then enter each
table entry manually.
The Exceptions Table fills in.
5. Do one of the following:
· To undo your changes, click Undo.
· To save your changes, click Save.